Marbles could be found in nearly any department store in the toy aisle but did you know they could be used for making unique jewelry?! Shaunte from Crafts Unleashed creates beautiful pendants using cracked marbles that are incredibly easy to make and look gorgeous.
Using only a few supplies from the craft store, these cracked marbles can then be used to create unique DIY cracked marble necklaces. Follow this step-by-step tutorial for creating colorful cracked marble necklaces at home.
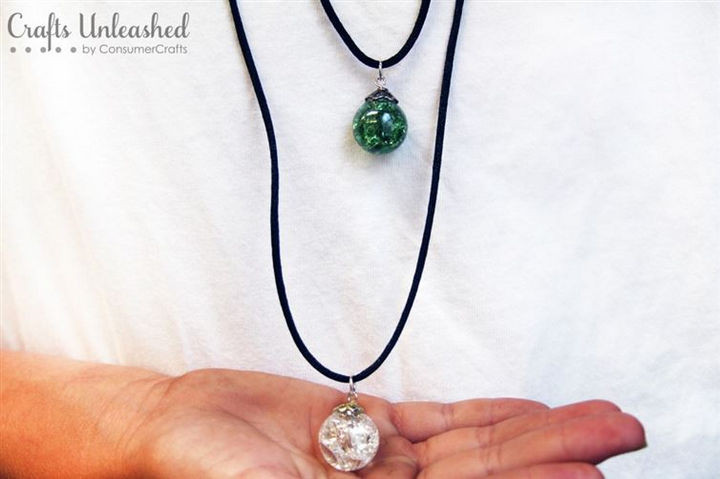
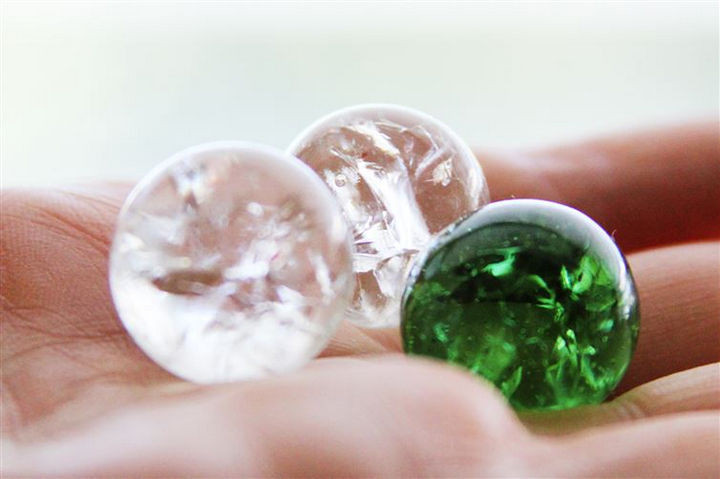
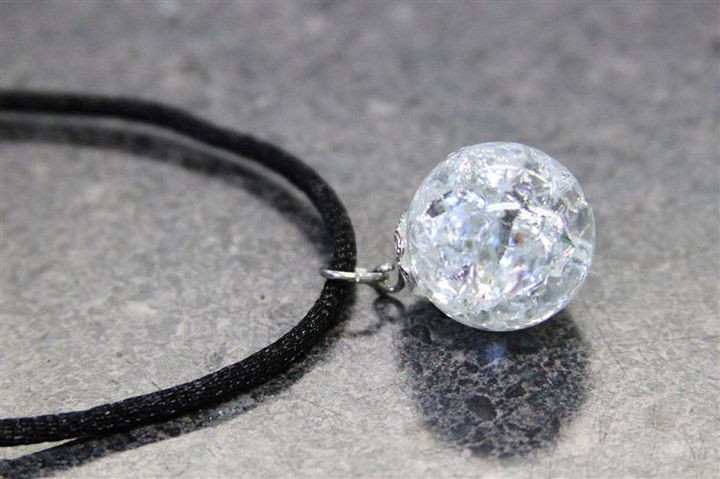
This lovely necklace features a unique gem…a cracked glass marble! Looks awesome!
You simply need a few supplies that you can find in any craft or dollar store.

Here are the specific supplies:
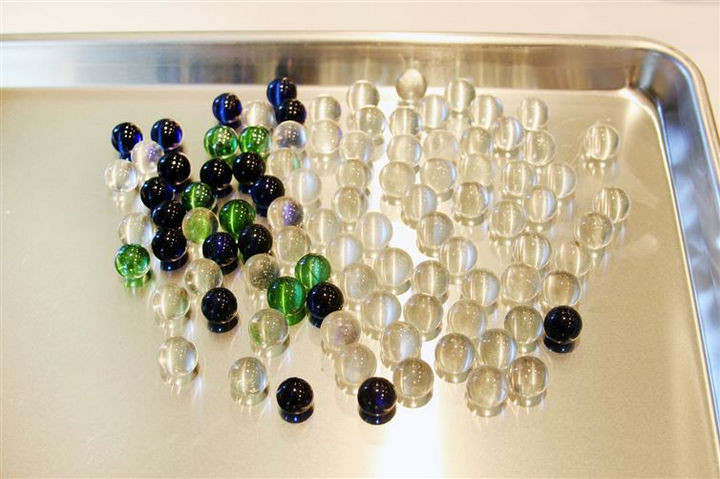
- Clear, colorful marbles
- Eye pins
- Jump rings
- Bead Caps
- Necklace cording
- Needle-nose jewelry pliers
- Strong adhesive (like E-6000)
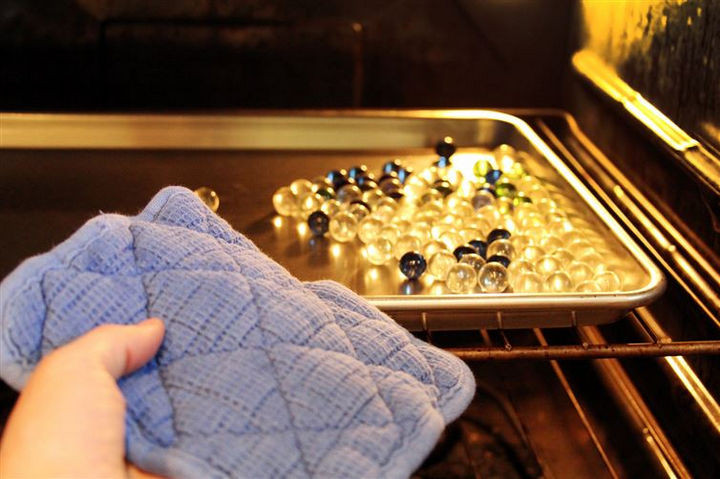
Other than supplies, you will also need a baking sheet, a bowl filled with ice water, and an oven to heat the marbles.
Preheat the oven to 500 degrees Fahrenheit and heat them for 20 minutes.
Have a bowl of ice water ready when you pull them out of the oven. Carefully dump the marbles into the ice water.
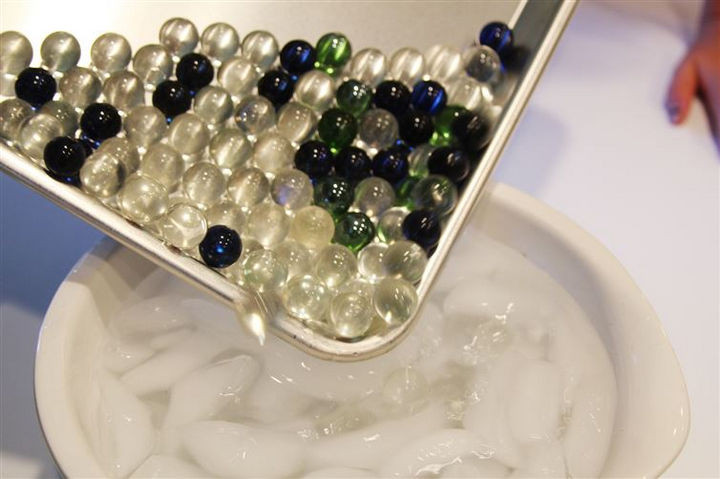
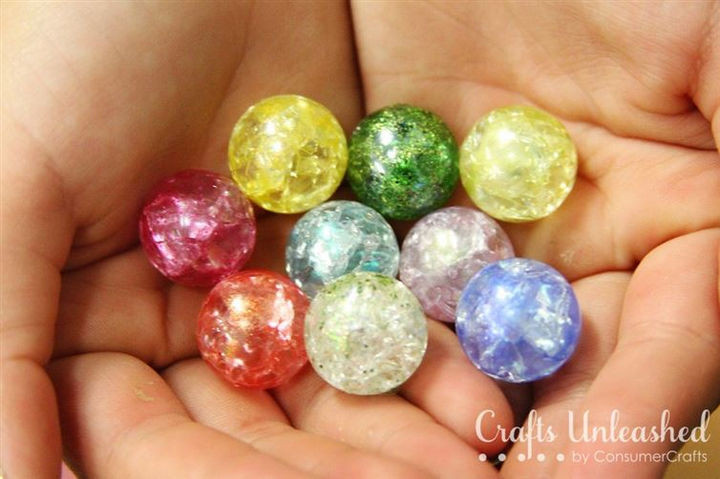
They will immediately crack on the inside but the outside will remain intact.
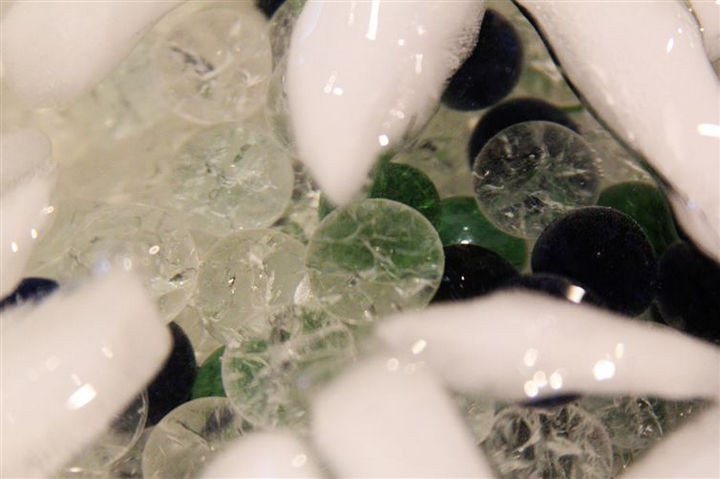
Once they are cooled, strain them. Don’t they look beautiful?
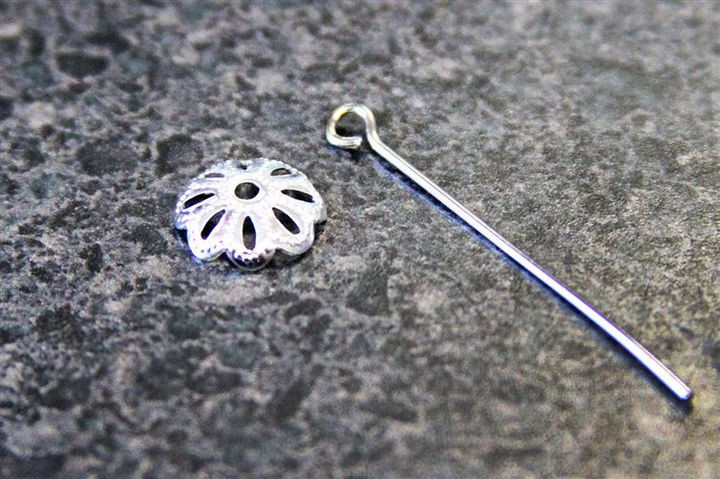
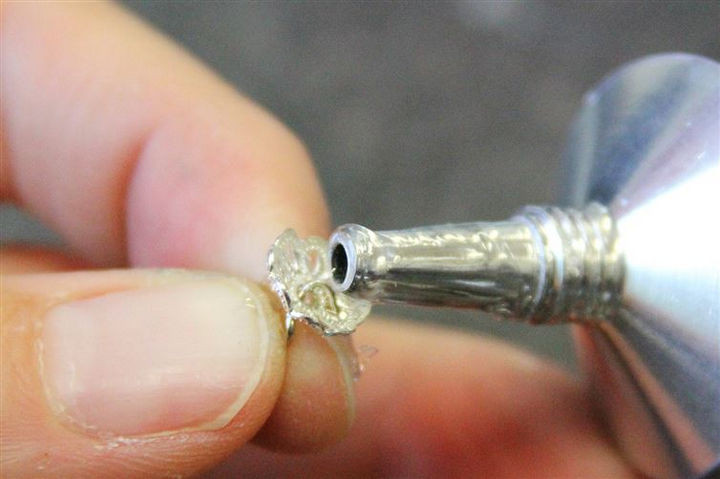
Now, you will need one bead cap and one eye pin for each necklace pendant.
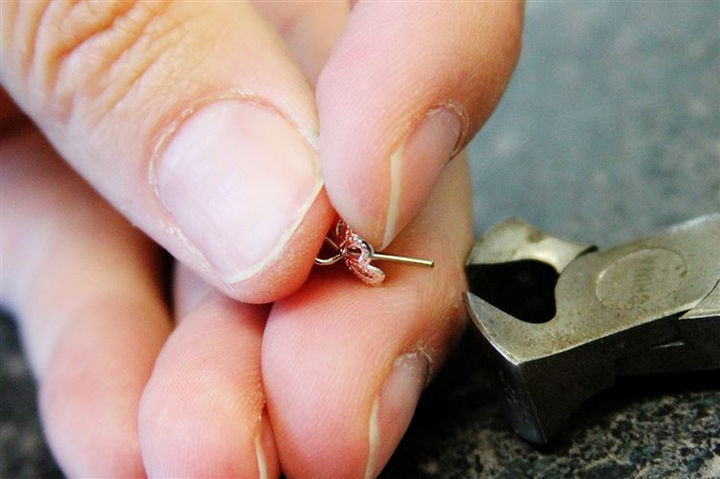
With cutters or pliers, trim just enough of the pin to allow you to bend it into a loop to secure the bead cap.
Apply an amount of adhesive on the inside of the bead cap and place a marble inside.
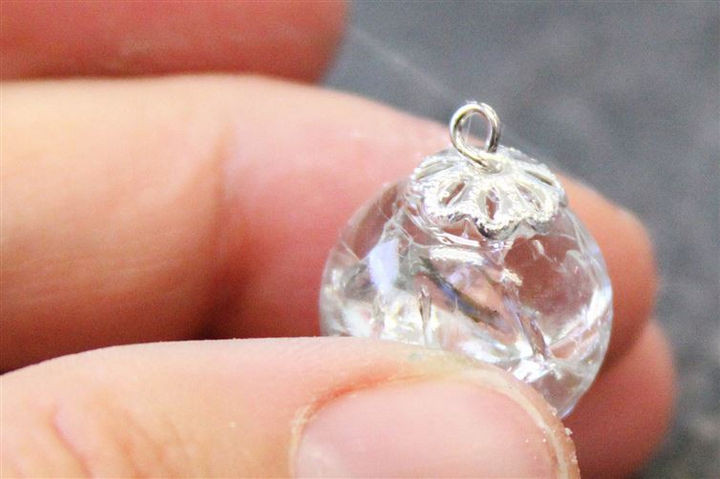
When completed, it should look like this. Let dry before attaching the pendant to the necklace.
Once dry, you can insert a jump ring into the eye pin and loop it through your necklace.
Because there are so many colors, you can experiment with a variety of marbles or even try using nail polish or glitter to add a special effect.
H/t: Crafts Unleashed
Please share this easy tutorial by Crafts Unleashed for creating cracked marble necklaces with your friends and family.


